What Push-Ups Are Actually For
Push-ups appear in every workout plan, every fitness challenge, every "getting started" guide. Trainers reference them casually. Programs assign "3 sets of 10" like it's as straightforward as tying your shoes.
But if you've never successfully completed one, or tried and couldn't manage even a single repetition, you're left with questions nobody addresses: What exactly do push-ups accomplish? Why does everyone insist they matter? And most importantly, if the standard version is impossible for me, where do I even begin?
This guide clarifies what push-ups are, what they genuinely accomplish beyond vague "fitness" claims, and most importantly, how to build toward them when the conventional version feels entirely out of reach.
Defining the Movement
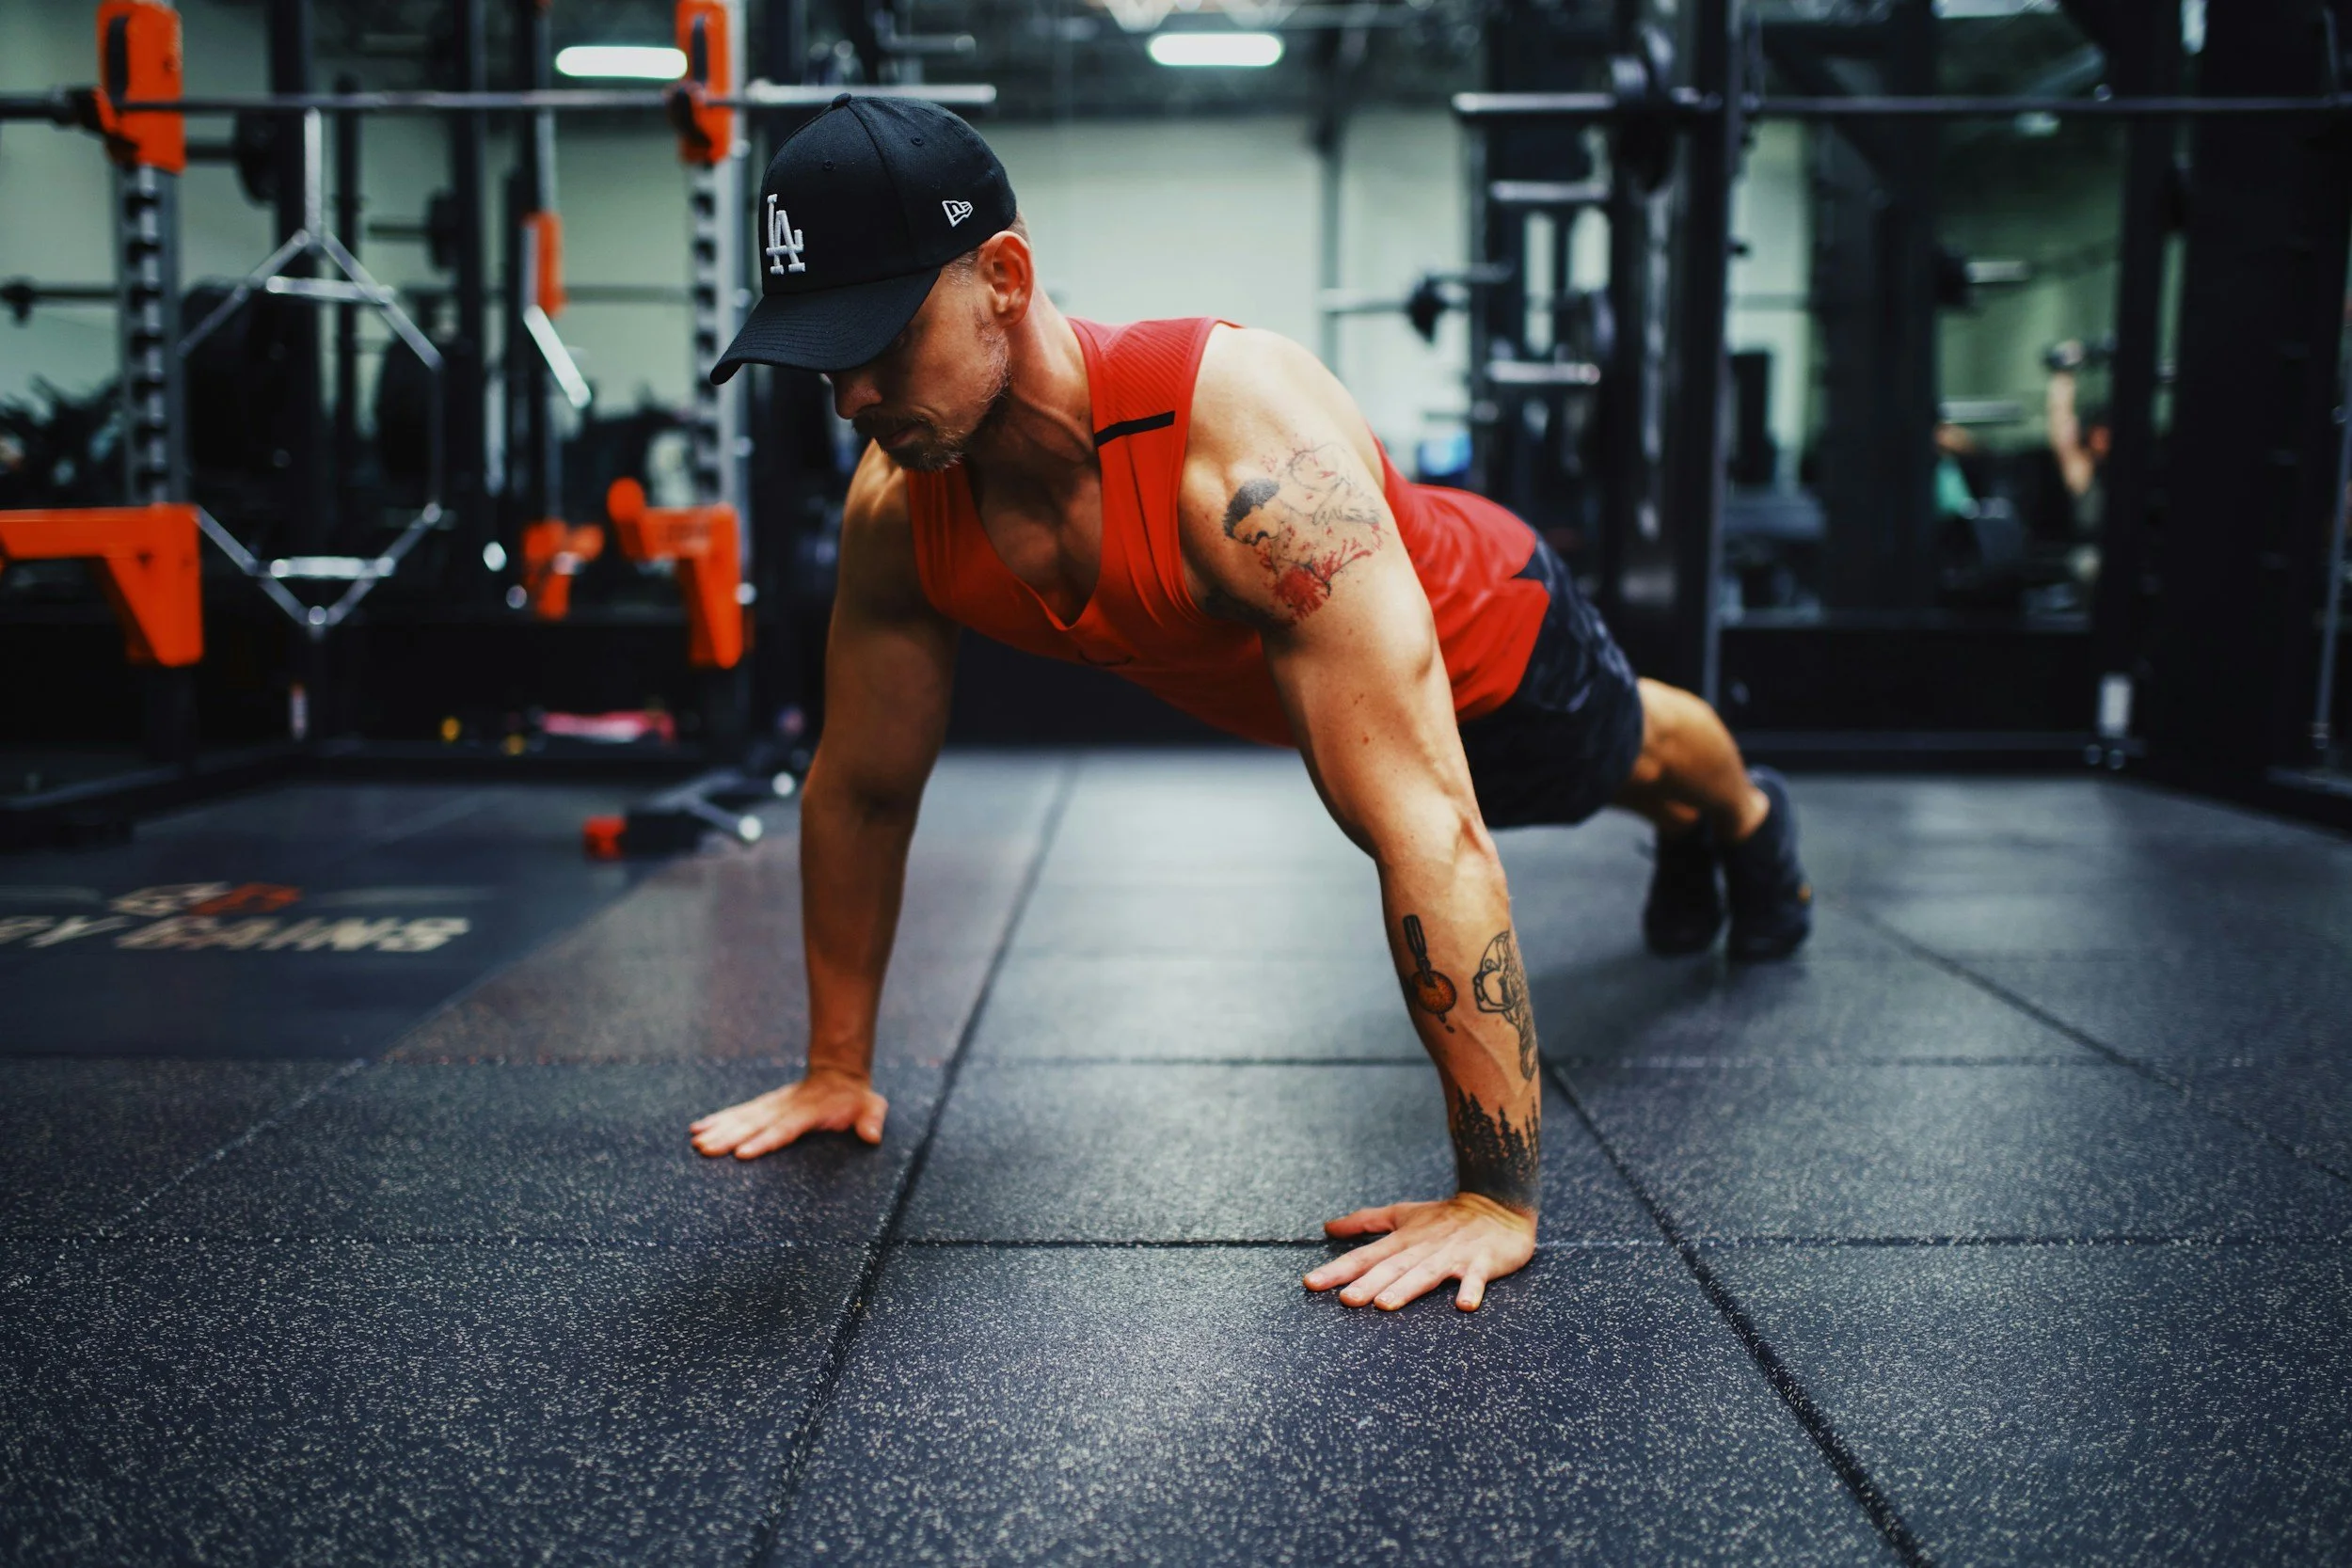
A push-up involves lowering your body toward the ground by bending your arms, then pressing yourself back to your starting position.
You begin in a plank configuration: hands planted on the ground somewhat wider than your shoulders, body forming a straight line from your head to your heels. You bend your elbows to descend your chest toward the floor, then straighten your arms to press back upward.
That's the complete action. Simple to write. Not always simple to execute.
What Actually Gets Trained
Push-ups aren't just about arms or chest, despite common assumptions.
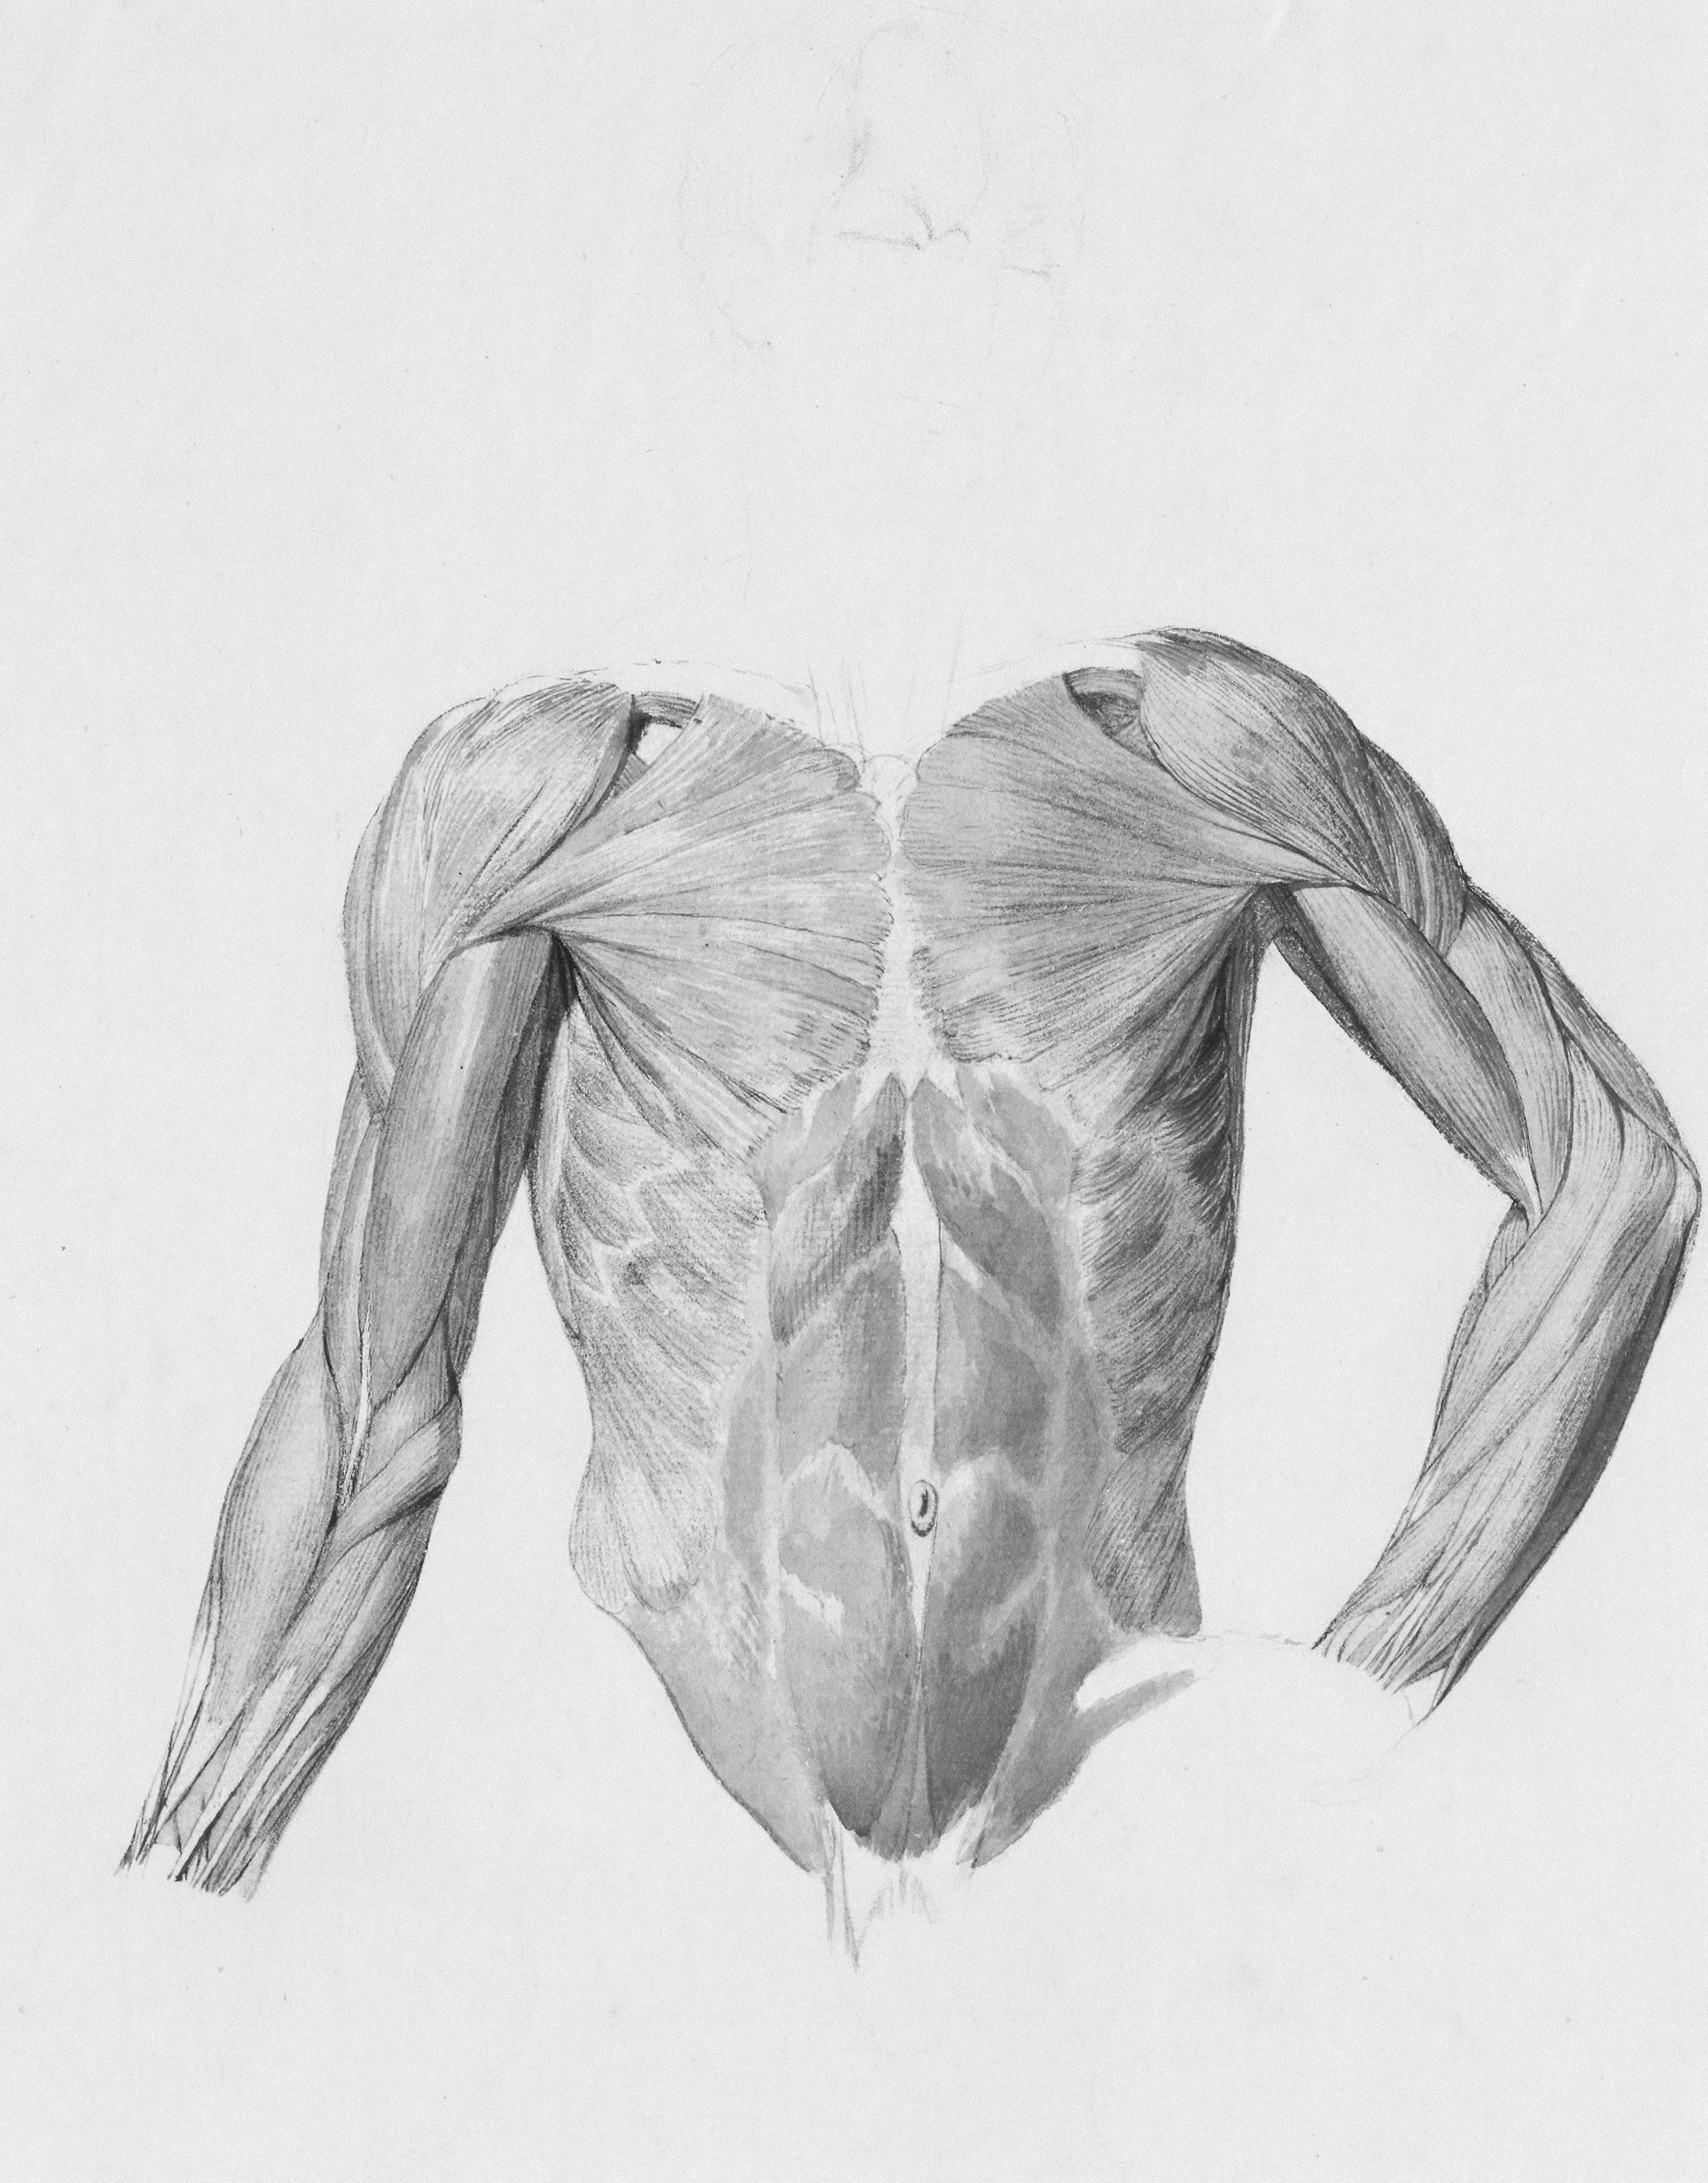
Primary muscular engagement:
Pectorals (chest): These muscles across your chest perform most of the pressing work
Deltoids (shoulders): Particularly the anterior portion of your shoulder muscles
Triceps: The muscles along the back of your upper arms that extend your elbow
Core musculature: Your entire midsection works to maintain body stability and alignment
Secondary muscular engagement:
Serratus anterior: Muscles along your ribcage that facilitate shoulder blade movement
Spinal erectors: Work to maintain your body position
Gluteals and legs: Engage to maintain body rigidity
This explains why push-ups are considered efficient: one movement trains your entire upper body and core simultaneously.
Why This Movement Actually Matters
Fitness culture treats push-ups like some proving ground or worthiness test. That's not their actual value. Say it with me: my worth is not in how many push-ups I can do.
Push-ups matter because they train a fundamental movement pattern you employ constantly: pushing yourself up from horizontal or low positions.
Practical daily applications:
Rising from the floor without using furniture for leverage
Pushing yourself upright from bed each morning
Standing up from ground-level activities (gardening, playing with children or pets)
Opening heavy doors that resist
Repositioning furniture or other objects
Catching yourself during forward falls or trips
As people age or remain sedentary, this pushing pattern deteriorates. Floor-to-standing transitions become difficult or impossible without furniture assistance. What was once automatic becomes labored or frightening.
Why Standard Push-Ups Feel Impossible
If you can't perform a standard push-up, you're not weak, defective, or hopeless. Rather, you haven't developed the specific strength pattern yet.
Push-ups require:
Upper body pressing strength (chest, shoulders, triceps)
Core stability (maintaining body rigidity)
Shoulder stability (controlling scapular movement)
Movement coordination (synchronizing everything smoothly)
If you're new to exercise, haven't trained your upper body, or have been sedentary, you probably lack adequate strength in one or all these areas. That's not a character deficiency. It's simply your present starting point.
Common reasons standard push-ups feel impossible:
Inadequate upper body strength: Your chest, shoulders, and triceps aren't yet strong enough to press your full bodyweight. This is the most common reason and is completely normal for beginners.
Insufficient core strength: Your core can't maintain the required rigid body position, causing hip sag or excessive back arching.
Dysfunctional shoulder mechanics: Your shoulder blades don't move properly during the movement, creating instability or discomfort.
Body mass considerations: If you're carrying extra weight, you're pressing greater resistance. This doesn't preclude eventual push-up capacity, but it means starting with modified versions becomes especially important.
Previous injuries: Wrist, shoulder, or elbow issues from past injuries can make standard push-ups uncomfortable or impossible. Modified versions often accommodate better.
All of these improve through progressive training. You're not permanently stuck at your current level.
The Progression Spectrum
Here's what most workout plans omit: they display the end result (a perfect push-up) without explaining the journey from zero to there.
Push-ups exist along a difficulty spectrum. You begin wherever you can actually execute the movement with control, not where you think you "should" start.
Here's the progression from most accessible to most challenging, with detailed explanations of each variation.
Wall-Based Push-Ups (Most Accessible Entry Point)
This represents the most accessible push-up variation and requires zero shame to start here.
Execution: Stand facing a wall at approximately arm's length. Position your hands flat against the wall at shoulder height, somewhat wider than shoulder-width. Maintain body alignment, bend your elbows to bring your chest toward the wall, then press back to the starting position.
What reduces difficulty: You're only pressing a small fraction of your bodyweight since you're nearly vertical. Gravity provides minimal resistance.
Who should begin here: Anyone without prior upper body training experience, anyone recovering from injury, anyone carrying significant extra weight, anyone who has attempted harder variations and couldn't control them.
Target volume: Begin with 2 sets of 8-10 repetitions. When you can perform 3 sets of 15 with solid form, advance to the next variation.
Elevated Surface Push-Ups (Counter/Table Height)
Once wall-based push-ups feel comfortable, transition to a kitchen counter, sturdy table, or desk. Just as long as it is a lower surface.
Execution: Position your hands on the edge of the countertop or table, somewhat wider than shoulder-width. Step your feet backward until your body creates a straight line from head to heels. Bend your elbows to lower your chest toward the surface, then press back upward.
What reduces difficulty compared to floor push-ups: You're angled, so you're pressing less than your complete bodyweight.
Progression strategy: As you strengthen, locate progressively lower surfaces. Counter → desk → chair → low platform → floor.
Target volume: Build to 3 sets of 12-15 before transitioning to a lower surface.
Knee-Supported Push-Ups (Floor-Based, Knees Down)
This represents the variation most people recognize. You're on the floor, but with knees down instead of toes.
Execution: Begin on hands and knees. Walk your hands forward slightly so a straight line exists from your head to your knees (your knees become the pivot point). Keep your feet elevated off the ground or crossed behind you. Lower your chest toward the floor by bending elbows, then press back upward. Most people put a blanket or some form of padding under their knees if this is their first time.
What reduces difficulty compared to full push-ups: By shortening your lever (using knees as pivot instead of toes), you're pressing significantly reduced weight.
Critical form consideration: Your body should remain straight from head to knees. Don't allow hips to spike upward. That's circumventing the movement and reducing effectiveness.
Target volume: Build to 3 sets of 15-20 knee-supported push-ups before attempting full push-ups.
Eccentric-Only Push-Ups (Lowering Phase Training)
This represents a powerful technique for building strength when you can't yet perform full push-ups, but knee-supported versions feel insufficient.
Execution: Begin in a full plank position (hands and toes, body straight). Slowly lower yourself to the floor over a 3-5 second count, maintaining control throughout the descent. Once you reach the floor, reset to the top position using your knees, and repeat.
Why this technique works: Your muscles are stronger during the lowering (eccentric) phase than the pressing (concentric) phase. By exclusively performing the lowering portion, you're building strength that will eventually enable the complete movement.
Target volume: Begin with 3-5 slow eccentric repetitions. Rest between each…you will definitely want to. Gradually build to 8-10 eccentrics with solid control.
Readiness indicator for full push-ups: When you can lower yourself slowly for 8-10 repetitions, you're probably strong enough to attempt pressing back upward.
Partial Range Push-Ups
If you can achieve a full plank position but can't lower completely and press back up, working with a partial range can build strength.
Execution: Begin in a full push-up position. Lower yourself only as far as you can while maintaining control, maybe just a few inches. Press back upward. Gradually increase your range as you strengthen.
Alternative approach: Position yoga blocks, books, or a small box under your chest. Lower until your chest touches the object, then press back upward. As you strengthen, use progressively lower objects.
Target volume: 3 sets of 8-12 repetitions. Focus on gradually increasing depth over time.
Full Push-Ups (Standard Execution)
Once you can perform 10+ knee-supported push-ups with solid form, or 8-10 controlled eccentric push-ups, you're ready to attempt full push-ups.
Execution: Begin in plank position, hands somewhat wider than shoulder-width, body in a straight line from head to heels. Lower your chest toward the floor by bending your elbows until your chest nearly contacts the ground. Press through your hands to return to the starting position.
Form specifications:
Hand positioning: Somewhat wider than shoulders, hands roughly aligned with your chest
Elbow trajectory: Elbows at approximately 45 degrees from your body (not flared straight outward, not tucked tightly to sides)
Body alignment: Straight line from head to heels throughout (no sagging hips)
Descent depth: Chest should nearly contact the floor (or at minimum elbows bend to 90 degrees)
Head positioning: Neutral, gazing slightly ahead, not upward or downward
Respiration pattern: Inhale during descent. Exhale during ascent.
Initial target volume: If you can perform 1 full push-up with solid form, that's success. Build from there. Perform 1 full push-up, then transition to knees to complete the set. Over time, increase the number you can perform from your toes.
Common Push-Up Challenges and Solutions
"My wrists experience pain during push-ups."
Wrist discomfort is extremely common because push-ups require significant wrist extension (bending your hand backward).
Solutions:
Use push-up handles or parallettes (elevates hands and reduces wrist angle)
Form fists instead of using flat palms (maintains neutral wrists)
Perform push-ups on your knuckles (requires tougher skin but eliminates wrist extension)
Work on wrist mobility separately (gentle stretches before push-ups)
If pain persists, wrist issues might necessitate different exercises (this is not failure)
"My shoulders experience pain."
Sharp shoulder pain during push-ups isn't normal and shouldn't be ignored.
Possible causes and solutions:
Excessive elbow flare: Maintain elbows at 45 degrees from your body, not 90 degrees
Scapular instability: Your shoulder blades should move properly during the movement. If problematic, you might need specific scapular stability work
Previous injury: Old shoulder injuries sometimes prevent push-ups. Try different variations or substitute alternative pressing exercises
"My hips sag, or I can't maintain body alignment."
This indicates your core isn't yet strong enough to maintain the position.
Solutions:
Transition to an easier variation where you CAN maintain straight body alignment
Incorporate core-specific work (planks, dead bugs) into your routine
Focus on engaging abs and glutes throughout the movement
Don't advance to harder variations until you can maintain form
"I can perform knee-supported push-ups but can't do even one full push-up."
This transition represents the most challenging gap in the progression. The jump from knee-supported to full push-ups is substantial.
Bridge this gap with:
Eccentric push-ups (described earlier)
Incline push-ups from a low surface (one height above floor)
Mixed variations (start from toes, transition to knees mid-set)
Most people require 2-4 weeks of eccentric push-ups to build strength for full push-ups.
"I can perform a few push-ups, but then my form deteriorates."
This is normal. As fatigue sets in, form quality decreases.
Solution: Stop when your form deteriorates significantly. Better to perform 5 perfect push-ups than 10 compromised ones. Use an easier variation to complete the set after the form fails.
Over time, the number you can perform with solid form will increase.
Determining Appropriate Volume
There's no universal magic number. It depends entirely on your starting point and objectives.
If you're completely new to push-ups: Begin with 2 sets of 5-8 repetitions of whatever variation you can control, 2-3 times weekly.
If you're building strength: Work toward 3 sets of 12-15 repetitions of your current variation before advancing to harder versions.
If you're maintaining: 2-3 sets of 10-15 repetitions, 2-3 times weekly maintains strength.
Rest between sets: 30-90 seconds. Push-ups are more demanding than they appear.
Rest between training days: At least one complete day. Your muscles require recovery time to actually strengthen.
The Actual Objective
Here's what genuinely matters: maintaining the ability to press yourself upward from low or horizontal positions throughout your life.
Whether you accomplish that through perfect push-ups, modified push-ups, or alternative pressing exercises is irrelevant. The outcome is what matters.
Push-ups aren't a worthiness test. They're a tool for building functional strength. Begin where you are. Build gradually. And trust that consistent effort with accessible variations will eventually create greater strength.